


The jewelry design to production pipeline is the structured sequence that transforms a concept into a finished, retail-ready piece through interconnected creative and technical stages. Every professional in the field, from independent designers to large-scale manufacturers, relies on this pipeline to balance artistic vision with the hard realities of manufacturability, cost, and consistency. The process moves through concept development, Computer-Aided Design (CAD) modeling, prototyping, mold making, lost-wax casting, stone setting, and finishing. Understanding each stage, and how they connect, is what separates designers who produce great work from those who produce expensive mistakes.
What is the jewelry design to production pipeline?
The jewelry design to production pipeline is the industry’s standard term for the end-to-end creation workflow. It begins the moment a designer puts pencil to paper and ends when a finished piece passes quality control. The pipeline is not a series of isolated tasks. It is a system where every decision in one stage shapes the cost, quality, and timeline of every stage that follows.
Jewelry design balances aesthetics with functionality, requiring structural integrity consideration before metal casting begins. That means the creative phase is not just about beauty. It is about building a piece that a caster can reproduce, a setter can work with, and a customer can wear without failure.
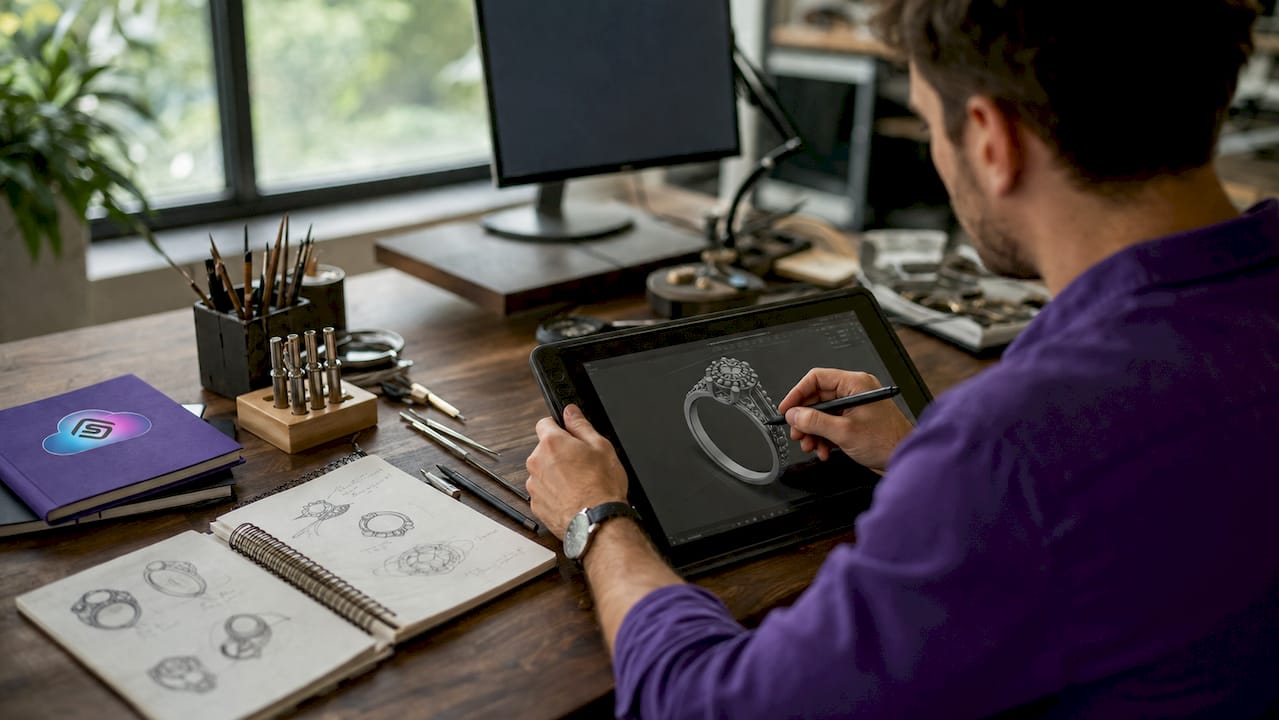
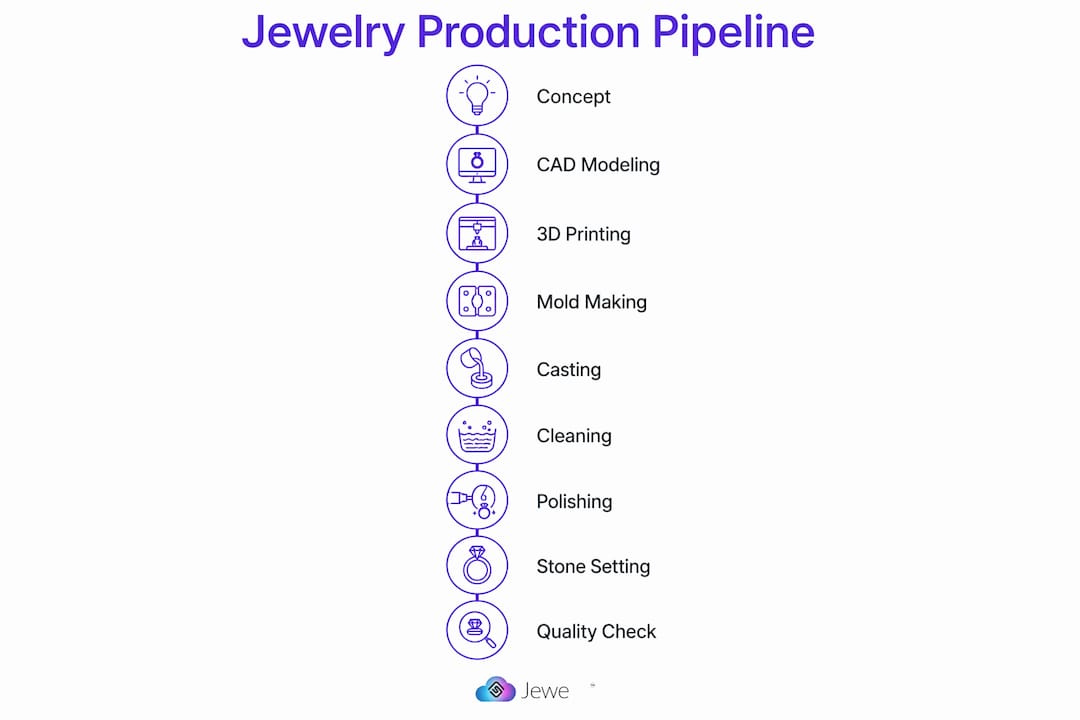
The pipeline typically covers nine distinct stages: concept sketching, CAD modeling, 3D prototype printing, mold making, lost-wax casting, assembly, stone setting, finishing and plating, and quality control. Each stage has its own technical requirements, specialist roles, and cost implications. Skipping or rushing any one of them creates compounding problems downstream.
What are the key stages in the jewelry production pipeline?
The nine stages below represent the full production workflow in jewelry, from the first sketch to the final inspection.
-
Concept development and sketching. Every piece starts with a design brief and hand-drawn or digital sketches. This stage defines the form, proportions, and intended materials. Designers who balance aesthetics with wearability at this point save significant rework later.
-
CAD modeling. Sketches move into CAD software, where every dimension is locked in with precision. The CAD file becomes the technical blueprint for every downstream process. A single CAD decision like stone seat depth directly affects casting and setting success, so accuracy here is non-negotiable.
-
3D prototype printing. The CAD file outputs a physical resin or wax prototype via 3D printing. This prototype lets designers and clients review scale, proportion, and fit before any metal is committed. The initial CAD file and first prototype typically cost between $100 and $300 USD depending on structural complexity. That is a small investment compared to the cost of a failed casting run.
-
Mold making. Once the prototype is approved, a master mold is created. Rubber and silicone molds are the most common types for wax injection. Master rubber molds are vulcanized at 150°C to 165°C, a controlled process that determines how accurately the mold replicates the original pattern across hundreds of production cycles.
-
Lost-wax casting. Wax patterns from the mold are assembled into a “tree” and placed in a flask with investment plaster. The burnout kiln removes the wax at temperatures exceeding 700°C, and molten metal is injected at approximately 1,000°C. This is the stage where the design becomes metal for the first time.
-
Assembly and laser welding. Cast pieces are cleaned, inspected, and assembled. Laser welding joins components with precision and minimal heat spread, which protects any stones already set nearby. Structural corrections happen here before the piece moves forward.
-
Stone setting. Setters place diamonds, gemstones, or other materials according to the design spec. Setting styles, including prong, bezel, pavé, and channel, each require different tolerances in the CAD model. A poorly dimensioned seat in the CAD file means the stone will not sit correctly, and the piece goes back for rework.
-
Polishing, plating, and surface treatment. The piece is polished to remove casting marks and surface irregularities. Rhodium plating is common for white gold and silver to improve durability and brightness. Surface textures, such as matte or hammered finishes, are applied at this stage.
-
Quality control. Every finished piece is inspected against the original design spec. Checks cover weight, dimensions, stone security, surface finish, and plating consistency. Pieces that fail inspection return to the appropriate stage for correction.
Pro Tip: Document every stage with photos and written sign-offs. A simple approval record at the CAD and prototype stages alone can prevent the most common and costly production disputes.
How does CAD accuracy affect the entire production workflow?
CAD accuracy is the single most important variable in the jewelry creation pipeline. Errors in CAD dimensions propagate through casting and finishing, often requiring complete tooling restarts. A restart does not just cost money. It costs weeks of production time and strains relationships with specialist contractors.
The most common CAD pitfalls include:
- Ignoring metal shrinkage. Metal contracts as it cools after casting. CAD models must account for this shrinkage factor, which varies by alloy, or the finished piece will be undersized.
- Incorrect stone seat dimensions. Seats that are too shallow cause stones to sit high and snag. Seats that are too deep prevent proper prong closure.
- Wall thickness errors. Walls that are too thin crack during casting or polishing. Walls that are too thick add unnecessary weight and material cost.
- Missing draft angles. Pieces without proper draft angles are difficult to remove from molds cleanly, causing surface defects.
Prototyping directly addresses these risks. A physical prototype reveals proportion and fit issues that are invisible on a screen. Limiting revision iterations through clear technical scoping and CAD approvals improves custom jewelry launch predictability. Designers who treat the prototype as a mandatory checkpoint, not an optional step, consistently produce better first-run castings.
Pro Tip: Always model in the final metal’s shrinkage factor from the start. Ask your caster for their specific shrinkage percentage by alloy before you finalize any CAD file.
What practical factors affect production timeline and cost?
Production timelines and costs vary significantly based on piece complexity, material choices, and mold type. The table below shows how these variables interact in a standard production workflow.
| Factor | Batch production | Bespoke or complex pieces |
|---|---|---|
| Production lead time | 2–3 weeks | 4–8 weeks |
| Mold type | Rubber or silicone, multi-use | Metal or silicone, high fidelity |
| CAD revision cycles | Typically 1–2 rounds | Often 3–5 rounds |
| Gemstone sourcing | Standard stock | Custom sourcing required |
| Unit cost driver | Volume and mold amortization | Labor and tooling complexity |
Standard production cycles for repeat orders take 2–3 weeks, while bespoke or complex pieces take 4–8 weeks depending on intricacy and stone availability. That gap is not arbitrary. It reflects the additional rounds of CAD revision, specialist coordination, and custom sourcing that complex pieces demand.
Material selection also shapes cost in ways designers often underestimate. Platinum, for example, requires higher casting temperatures and more specialized equipment than gold or silver. That translates directly into higher labor rates and longer production windows. Gemstone sourcing adds another layer of variability. Rare stones with specific cut or color requirements can delay a production run by weeks if sourcing is not started early in the pipeline.
How does an integrated workflow reduce errors and production delays?
Jewelry production is a collaborative system, not a relay race where one specialist hands off to the next without communication. The feasibility phase involves deep collaboration between designers and craftsmen to determine manufacturability and cost before prototype creation begins. Skipping this phase is the most common reason production runs stall.
The cascading effect of early errors is the most underappreciated risk in the pipeline. A dimension error in the CAD file does not just affect the casting. It affects the mold, the setting, and the finishing. Each downstream specialist discovers the problem at a different point, and each correction adds cost and time. The piece that seemed close to finished ends up back at the casting stage.
“Transparency in manufacturing involving multiple specialists is crucial to managing expectations and avoiding delays. When designers, wax carvers, casters, and setters share information early and often, the pipeline runs predictably and cost overruns become rare rather than routine.”
Staged approvals are the practical solution. Require sign-off at the CAD stage, again at the prototype stage, and once more before casting begins. This structure gives every specialist a chance to flag problems before they become expensive. Clear CAD approvals early in the process allow brands to improve custom jewelry launch timelines and cost predictability. Designers who build these checkpoints into their standard process consistently report fewer surprises and faster production launches.
Key Takeaways
The jewelry design to production pipeline succeeds when CAD accuracy, staged approvals, and cross-specialist collaboration are treated as non-negotiable standards rather than optional best practices.
| Point | Details |
|---|---|
| CAD accuracy is foundational | Dimension errors in CAD propagate through every downstream stage, often requiring full tooling restarts. |
| Prototyping prevents costly failures | A $100–$300 prototype catches fit and proportion errors before any metal is committed to casting. |
| Mold type determines volume fidelity | Rubber and silicone molds vulcanized at 150°C–165°C support high-volume replication with consistent accuracy. |
| Staged approvals reduce rework | Sign-offs at CAD, prototype, and pre-casting stages limit revision cycles and protect production timelines. |
| Collaboration starts before prototyping | The feasibility phase requires designers and craftsmen to align on manufacturability and cost before any physical work begins. |
Why I think most pipeline problems start at the design desk
After years of watching jewelry production workflows succeed and fail, the pattern is clear. The problems that show up at the casting stage, the setting bench, or the polishing wheel almost always trace back to a decision made at the design desk. A designer who does not understand metal shrinkage, wall thickness minimums, or stone seat tolerances is not just creating a design. They are creating a problem that every downstream specialist will have to solve.
The most effective thing a designer or manufacturer can do is invest time in learning the technical constraints of each stage before finalizing any CAD file. That does not mean designers need to become casters or setters. It means they need enough working knowledge to ask the right questions and recognize when a design is pushing against the limits of what is physically producible. The collaboration between designers and craftsmen during the feasibility phase is where that knowledge gets applied.
The second pattern I see consistently is undervaluing the prototype. Designers who skip it to save $200 routinely spend $2,000 correcting a casting run that should never have been approved. The prototype is not a luxury. It is the cheapest insurance in the entire pipeline.
Finally, the brands that manage their production workflows well treat communication as a production input, not an afterthought. They document decisions, share CAD files with casters before finalizing them, and build revision limits into their contracts with clients. That discipline is what separates studios that scale from those that stay stuck in constant rework cycles.
— Anthony
How Jewelcloud fits into your production and retail workflow
Jewelry manufacturers and designers who have mastered the production pipeline still face a separate challenge: getting finished products in front of qualified retail buyers efficiently. Jewelcloud is built for exactly that transition.
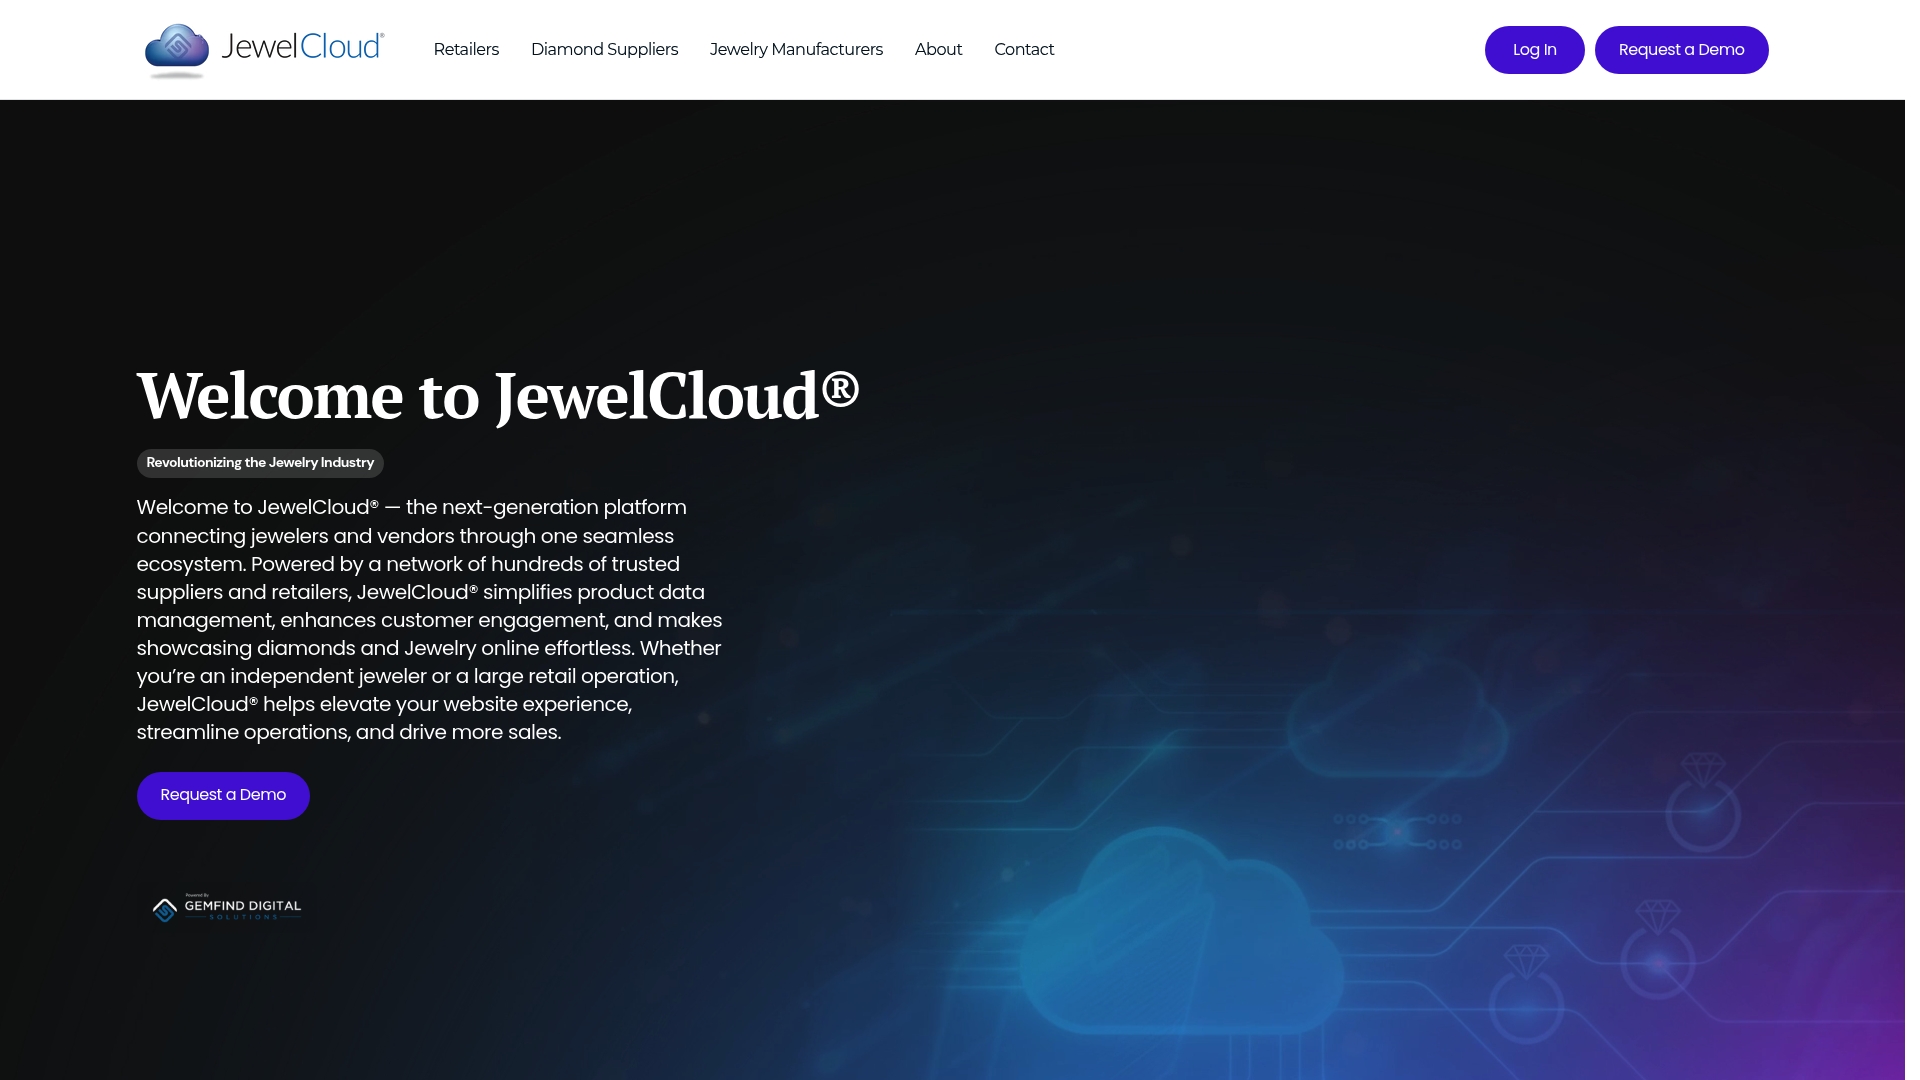
Jewelcloud connects manufacturers, designers, and diamond dealers with retail jewelers through a structured B2B platform. Your product data is standardized and optimized for the unique complexities of jewelry, so retailers can source, display, and sell your pieces without the friction of manual data entry or inconsistent specs. For manufacturers managing multiple collections and vendor relationships, Jewelcloud for manufacturers provides the digital distribution channel that turns production output into retail visibility. Explore vendor membership options to see how the platform supports your growth from production through to sale.
FAQ
What is the jewelry design to production pipeline?
The jewelry design to production pipeline is the structured sequence of stages that transforms a concept into a finished piece, covering sketching, CAD modeling, prototyping, mold making, casting, stone setting, finishing, and quality control.
How long does the jewelry production process take?
Repeat batch orders typically take 2–3 weeks, while bespoke or complex pieces require 4–8 weeks depending on design intricacy and gemstone availability.
Why is CAD accuracy so critical in jewelry manufacturing?
CAD errors propagate through every downstream stage, including casting, mold making, and stone setting, and can require complete tooling restarts that add significant cost and delay.
What does lost-wax casting involve?
Lost-wax casting burns out wax patterns at temperatures exceeding 700°C and injects molten metal at approximately 1,000°C to form the metal structure of a jewelry piece.
How much does a jewelry prototype cost?
The initial CAD file and first 3D printed prototype typically cost between $100 and $300 USD, depending on the structural complexity of the design.